At DotSignage, we are all about putting our customers first.
We’ve been hard at work, and today, we bring to you a significantly improved version of our menu board template editor
So, first things first, have you noticed the fantastic transformation in the layout of our menu board editor? We’ve completely revamped it to make your experience smoother and more enjoyable.
The latest layout is a breath of fresh air, featuring a more organized, clean, and user-friendly design. We understand that time is of the essence, and that’s why we’ve made sure that our new layout is intuitive and easy to work with.
Our stock images are now a breeze to navigate, ensuring that you can find the perfect visuals for your digital menu board or canvas templates effortlessly.
Plus, we’ve streamlined the formatting and customization options, making it quicker and simpler to craft the templates of your dreams.
But that’s not all – we’re excited to introduce three new features that will elevate your template creation process.
These additions will help you design more engaging and visually appealing menus that will captivate your customers and boost your business.
1. Add QR code to your menu board

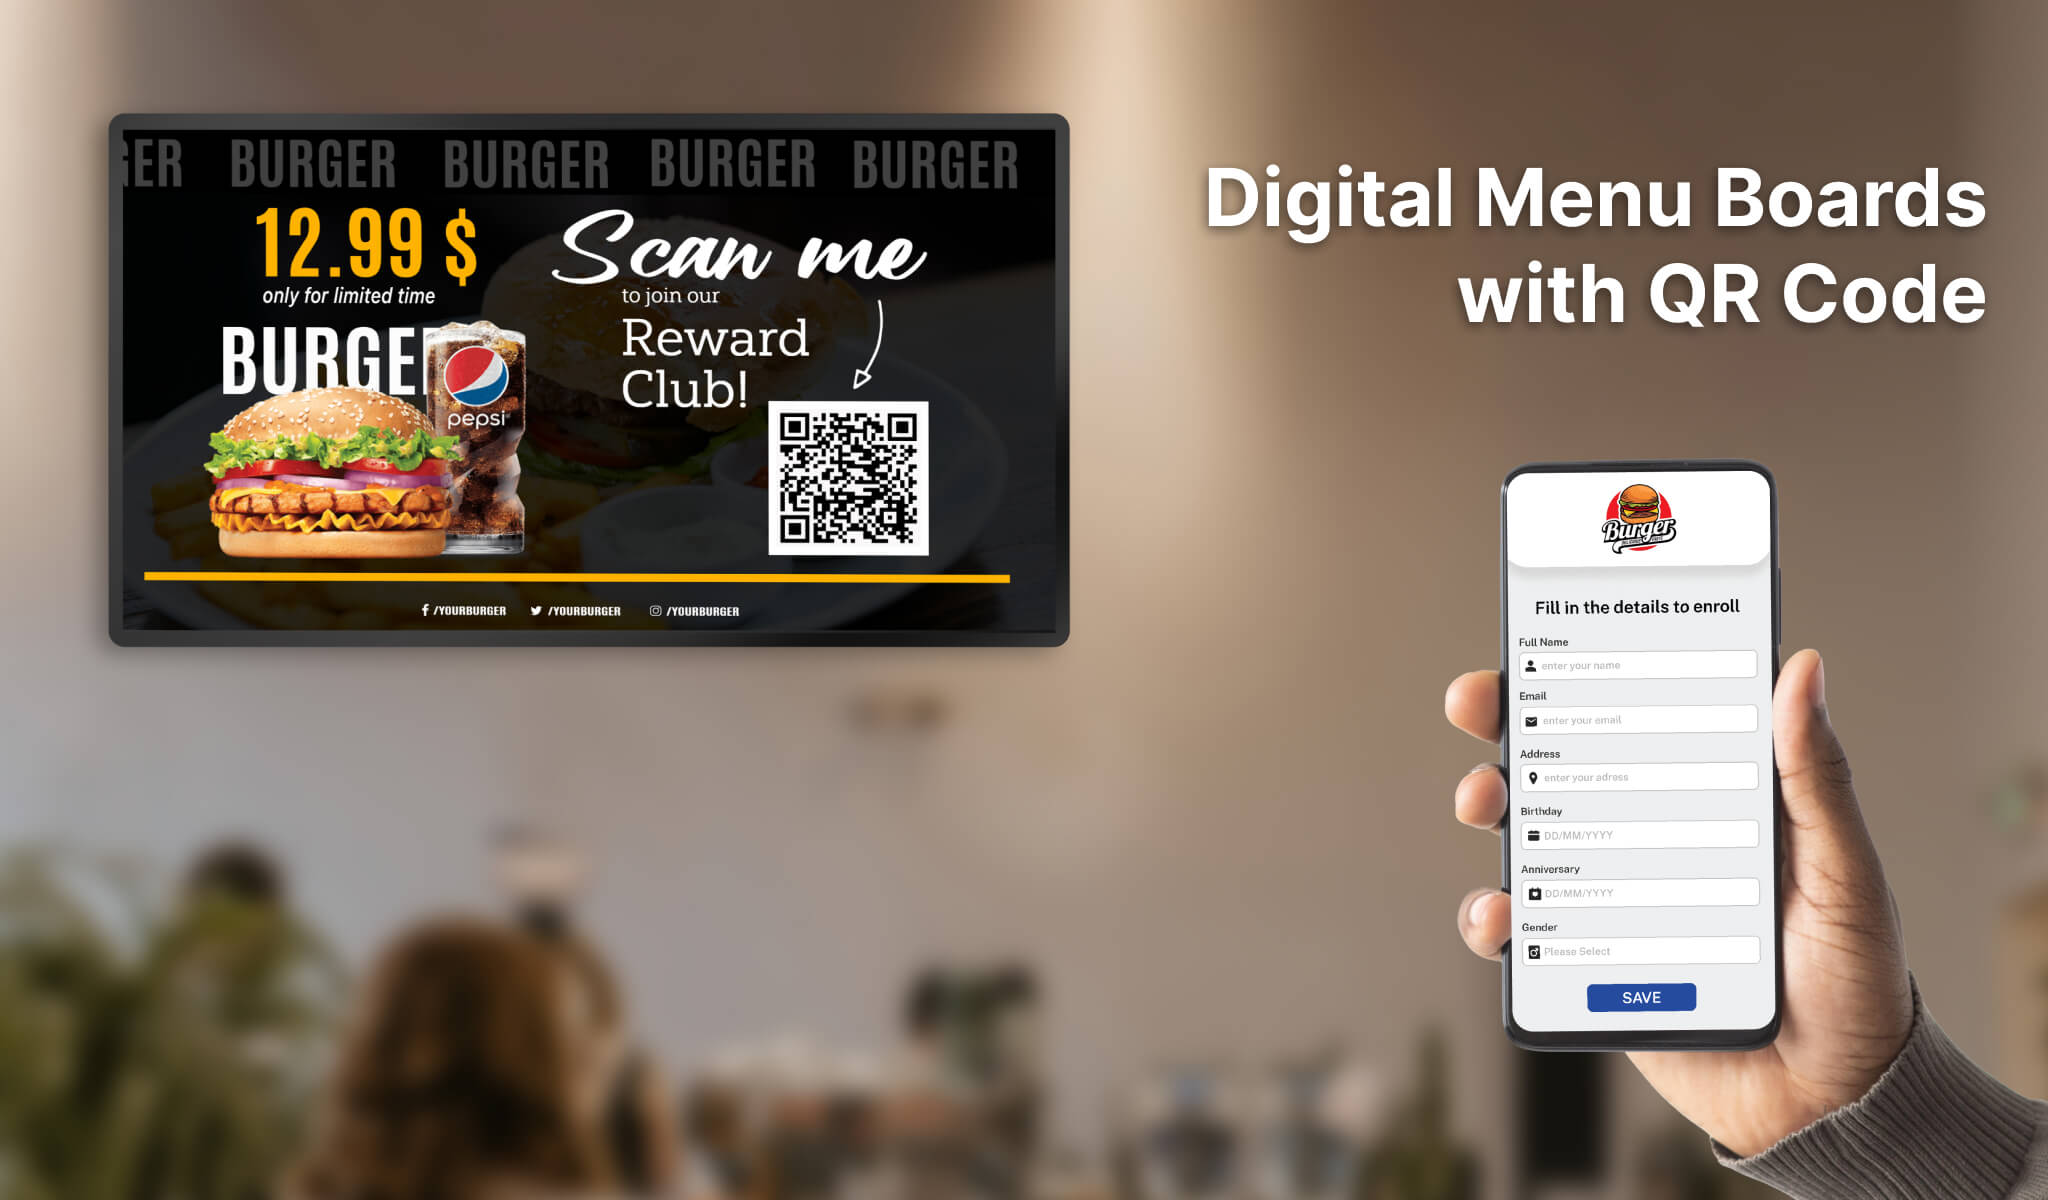
Now, you can easily add QR code to your digital menu board and link it as you need.
You can also modify the QR color and the background color of the QR code as required.
You can link these QR codes for several things like:
- Website
- Loyalty programs
- Online Ordering
- Offers or Promotions
- Asking for feedback
2. Zoom-in/out for Templates
As you’re curating your menu board, you can seamlessly zoom in or out by just clicking on the zoom-in or zoom-out button.
This feature gives you the freedom to focus on specific sections of your menu board in detail or get a bird’s-eye view of the entire canvas.
Zooming in allows you to fine-tune every element, ensuring that every pixel is perfect.
This level of precision can be a game-changer when you’re working on intricate designs or adjusting text and images to perfection.
On the other hand, zooming out gives you a comprehensive view of your entire menu board, helping you ensure that the overall layout and balance is just right.
It’s a fantastic way to maintain a sense of proportion and harmony in your design.
3. Create Custom sized templates
With this feature, you can effortlessly construct custom sections on TV screens using digital signage.
Whether it’s a full-screen display at 100% width and 100% height or any other configuration, this flexibility empowers you to create digital content that looks fantastic on a variety of screens, ensuring a consistently impressive visual experience for your audience.
Often times, customers want to divide their screen sections so they can have engaging and variety of content playing on screens to grab more eyeballs.
They might also have got a gigantic screen that can be divided into different sections needed to display content.
How does the feature work?
Consider your screen to have 100% width and 100% height.
Depending on the area where you are creating the section, you need to decide the proportion of height and width.
Landscape 50-50 split: Menu template + Video
If you want to divide your landscape screen into two equal parts and want to assign a template to one of the sections, your input would be 50 (width) to 100 (height).
Portrait 50-50 split: Menu template + Video
If you want to divide your portrait screen into two equal parts, your input would be 100 (width) to 50 (height).
Landscape 40-60 split: Template with QR code + Slideshow
This screen is divided into two sections. 40% of the left has a different content playing and 60% of the right has another content playing.
a)The first section on the left will need the input of 40 as width and 100 as height.
b)The section on the top right will need input of 60 as width and 100 as height.
Landscape Multi split : Video + Menu template + Weather feeds
Let’s say you want to divide your TV screen into 3 sections as shown below:
In this scenario, you create three sections:
a) The first section on the left will need the input of 40 as width and 100 as height.
b) The section on the top right will need input of 60 as width and 70 as height.
c) The third section to the bottom right will need the input as 60 as width and 30 as height.
These input values will define the template dimension on the template editors.
If you want to assign another content, be it images or videos to any of these sections, you can assign the content based on the proportional dimension of that section.
This feature will give you the freedom to assign or create as many sections as you need and play content to your liking.
We hope you find these updates useful. We have more interesting add-ons coming shortly.
Drop us a quick line on info@dotosignage.com if you want a quick demo of these features or try our 7 day free trial to explore more about our solution.

