Paper menus are definitely a story of the past. With the onsetting of the Pandemic, they are certainly irrelevant now. With a variety of new tech solutions surfacing the current needs of customers, digital menus are one of them. Smart, easy to manage, contactless and affordable are the adjectives they embody.
By having digital menus for restaurants can give a broader access to their diners. Easy customization and effortless management is a cherry on the cake. We at DotSignage, offer Interactive Digital Menu that is not only a worthwhile add-on to your services, but easy on pockets too.
Intelligent restaurant menus can be broadly classified 2 way:
Tablet Digital Menu – Customers can view the complete menu and place
QR Code Menu – Customers can scan the QR code to open the digital menu on their mobile phones and place the orders directly. Read more about how QR code ordering menu work out to the best for your restaurant
Here is How You can Convert Your Paper Menu in the Digital Menu?
1. Go to App store section in DotSignage Panel (Don’t have an account yet? Create one now to get started!)
2. Click on Digital Menu Ordering
3. Click on Configure Menu
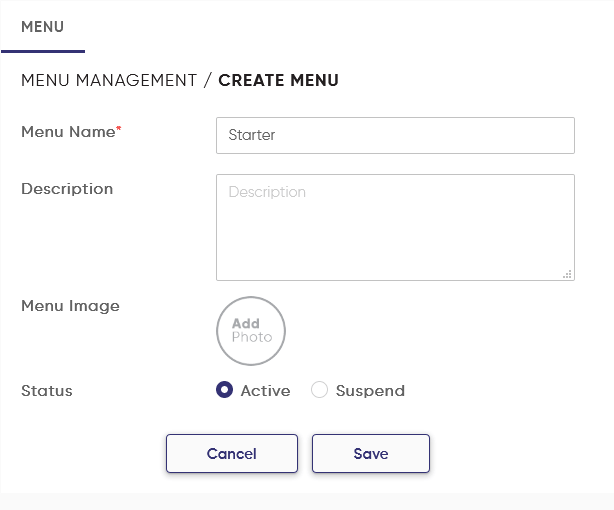
4. Click on Create Menu: Enter your main menu name.
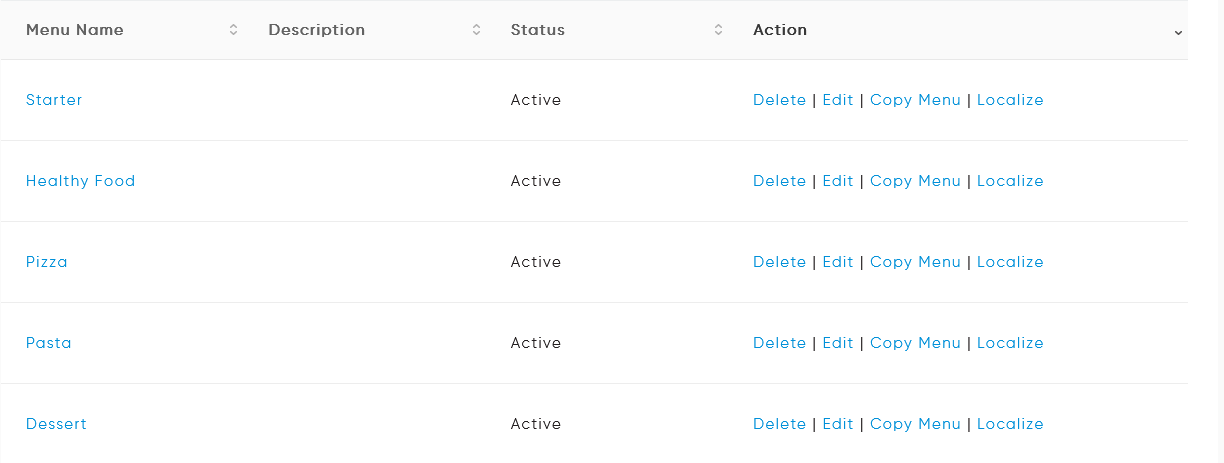
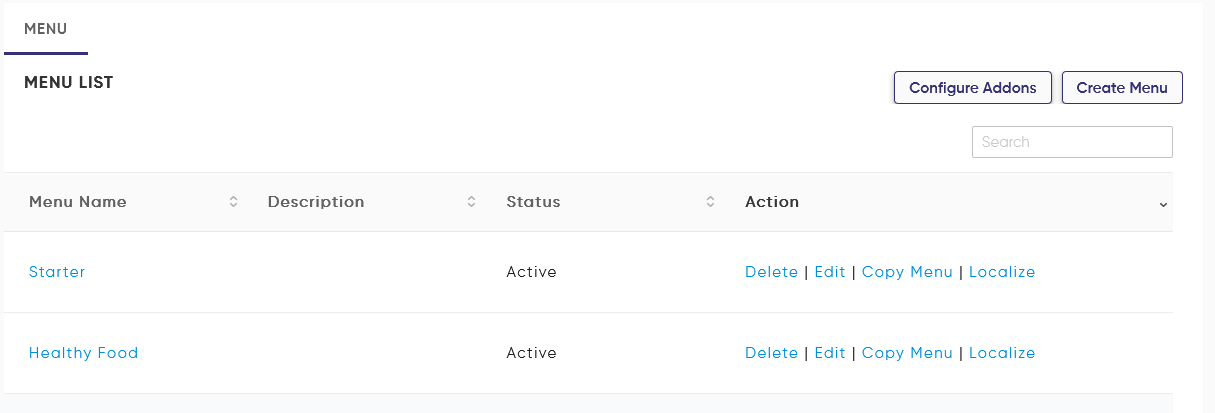
5. You can see the list of menu names that you have added. Click on a particular menu to add categories name:
6. Enter Category Name
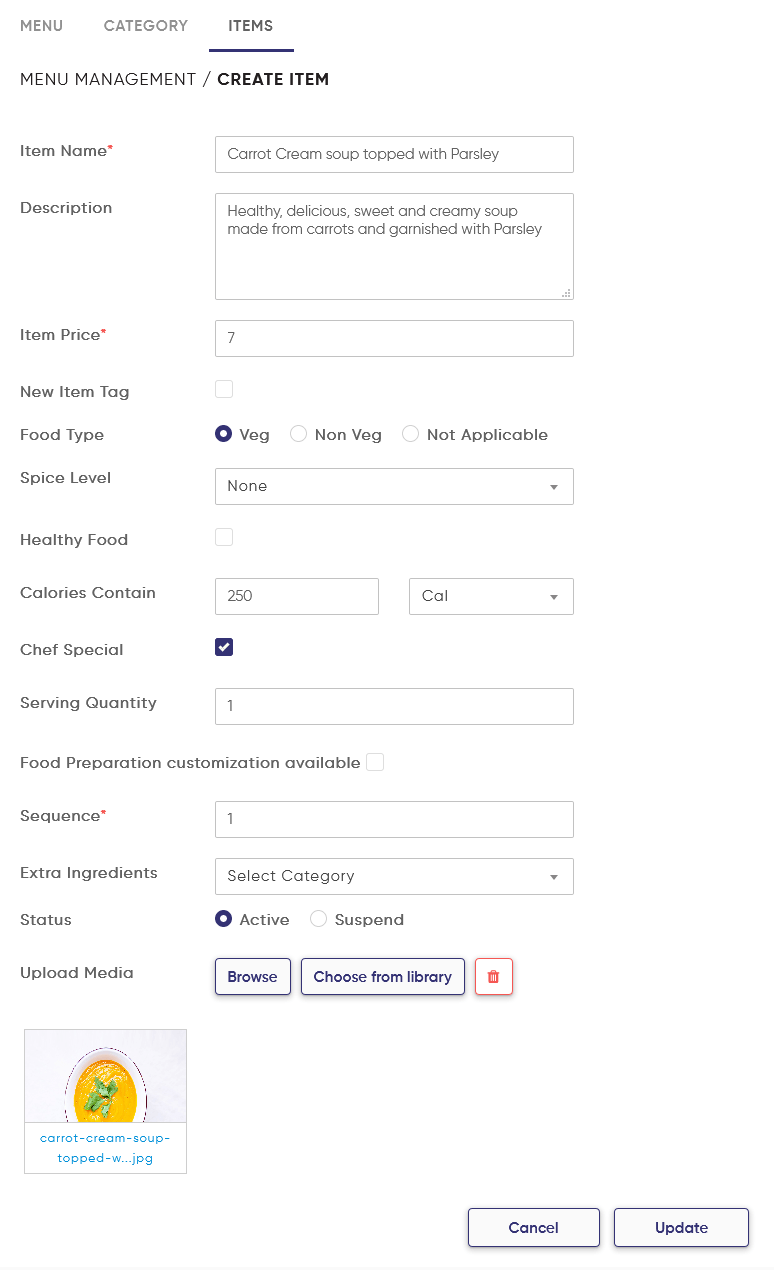
7. Click on create item: Enter the name of the item along with several other details like description, item price, put a tick if the item belongs to the healthy section, select a spice level for customers to know, the calories contained in the item as well as the serving quantity.
8. Configure extra ingredients to your food item: Tap on ‘Configure Addons’ in your main menu screen.
9. A lot of menu items need customisations in the variants they offer like size, the price according to the size, the toppings and choices in saunces. Suppose we want to configure Pizza Ingredients then first We have to ask the customer about its size – like small, medium and large. Tap on the ‘Create New’ button and start adding.
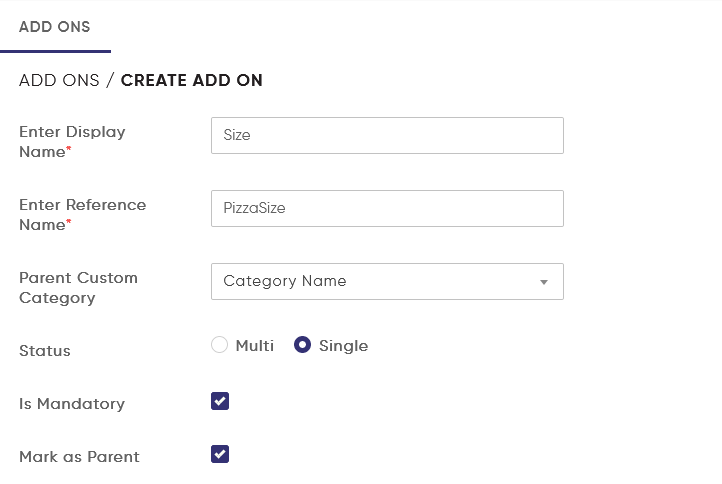
You need to add the size as the parent variant because the prices of all the ingredients will be decided based on the size that has been picked up to order.

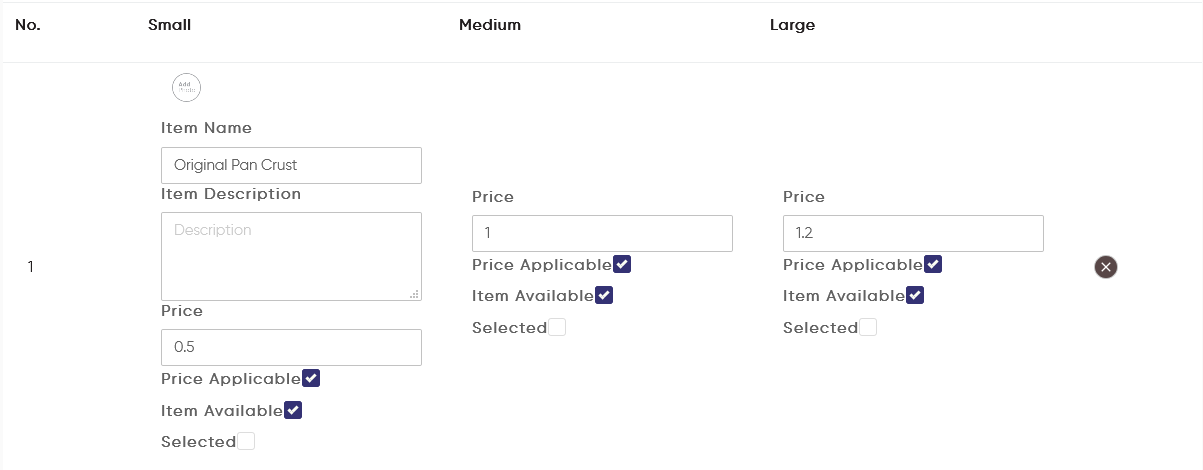
10. Once the parent category has been set up, the next step would be to define the type of crusts, the types of toppings, choices in sauces if any, choices in type of cheese to be used. Other kinds of choices can also be offered.
Configuring the Digital Menu ordering:
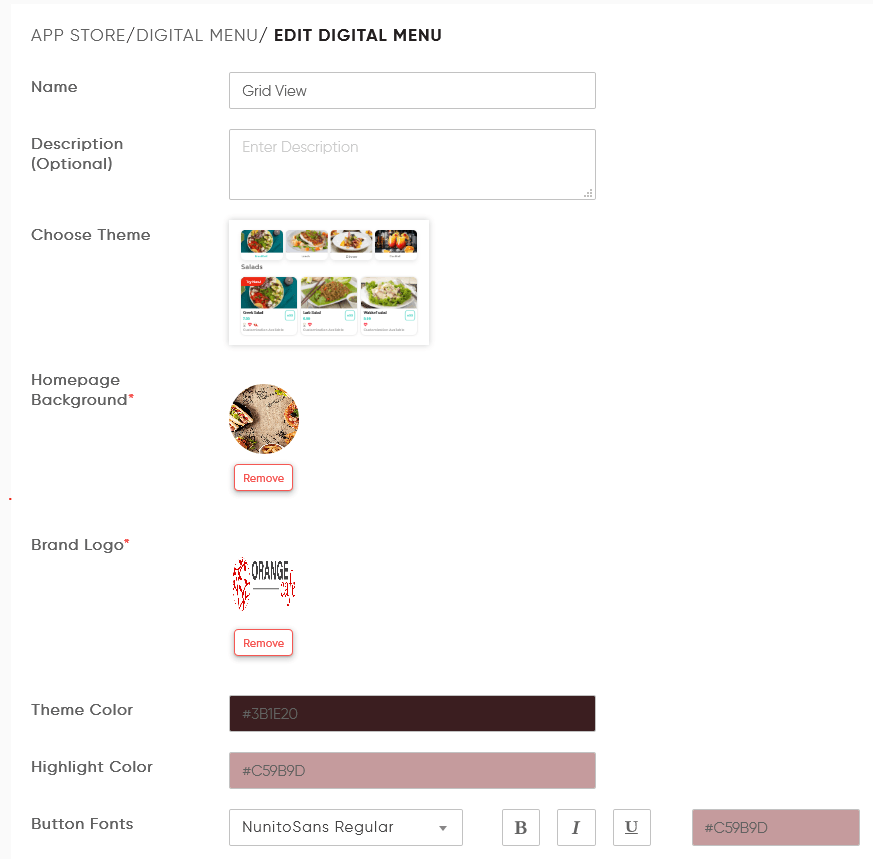
- Tap on ‘Create Digital Menu’ once you are inside the Digital Menu Ordering section.
- You can input the logo of your restaurant as well select a theme from the available themes in the system.
- Background image for the menu home screen can be selected as you need from your PC or Laptop.
- Theme Color is the color that will reflect on the main parts of the menu like category names, main item name and so on
- Highlight color is the color that will be used against theme color.
- With the Button Fonts option, you can select the kind of font that you want for the main sections of the menu like categories. Effects like Bold, Italics or underline can be given as well.
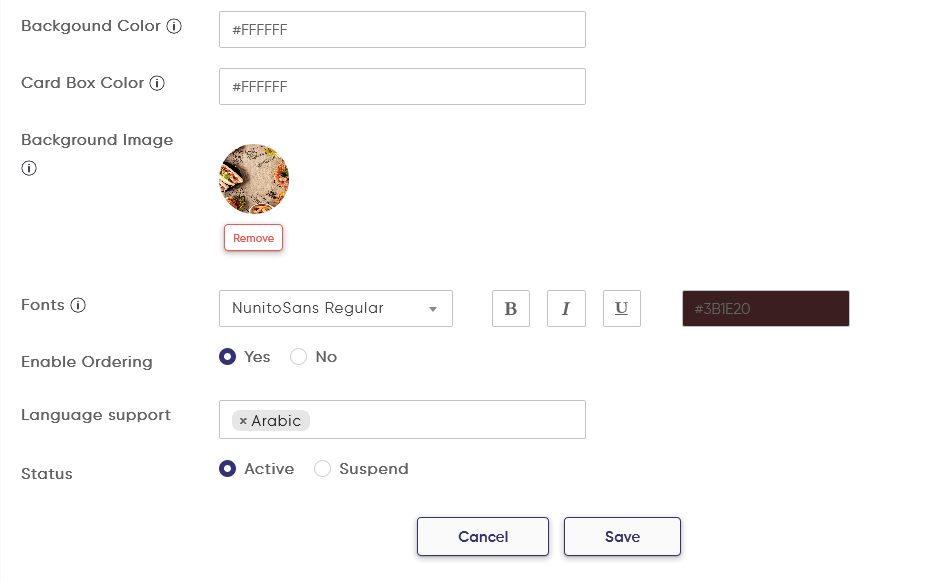
Feedback and Offer section: The details for this section can be managed from the ‘Create Digital Menu’ screen itself.
- Background Color: Once the digital menu has been created, you will have offers and a feedback section as well available for the users. The section of Background color on this screen is specifically for the feedback and offer section. You can select the color that matches your needs.
- Card Box Color: This option applies to the feedback section for the users. The color of the card box wherein the user can give the feedback can be selected from this option.
- The Background Image and the Fonts section below Card Box Color will also apply to the Feedback and Offer section.
Upon selecting and filling up the details as you need, tap on save. You can see that three options are created – Menu, Feedback and Offers.
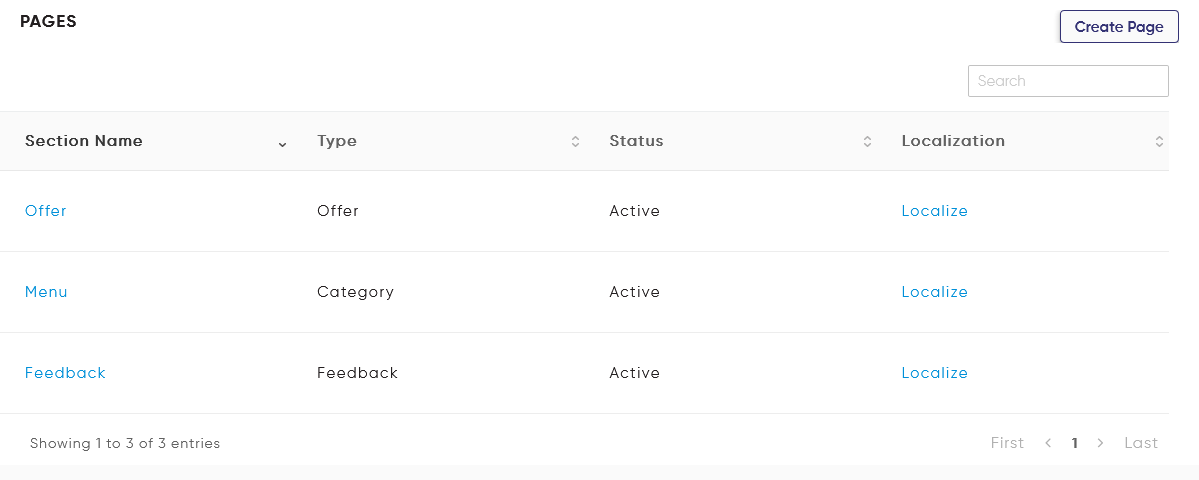
Localisation of the menu can be done as well.
On the main menu screen, you can find the option of ‘Localise’.
Upon tapping on the same, you will be redirected to the next screen wherein you can select the language that you wish to have the menu in and fill in the localised translations as needed.
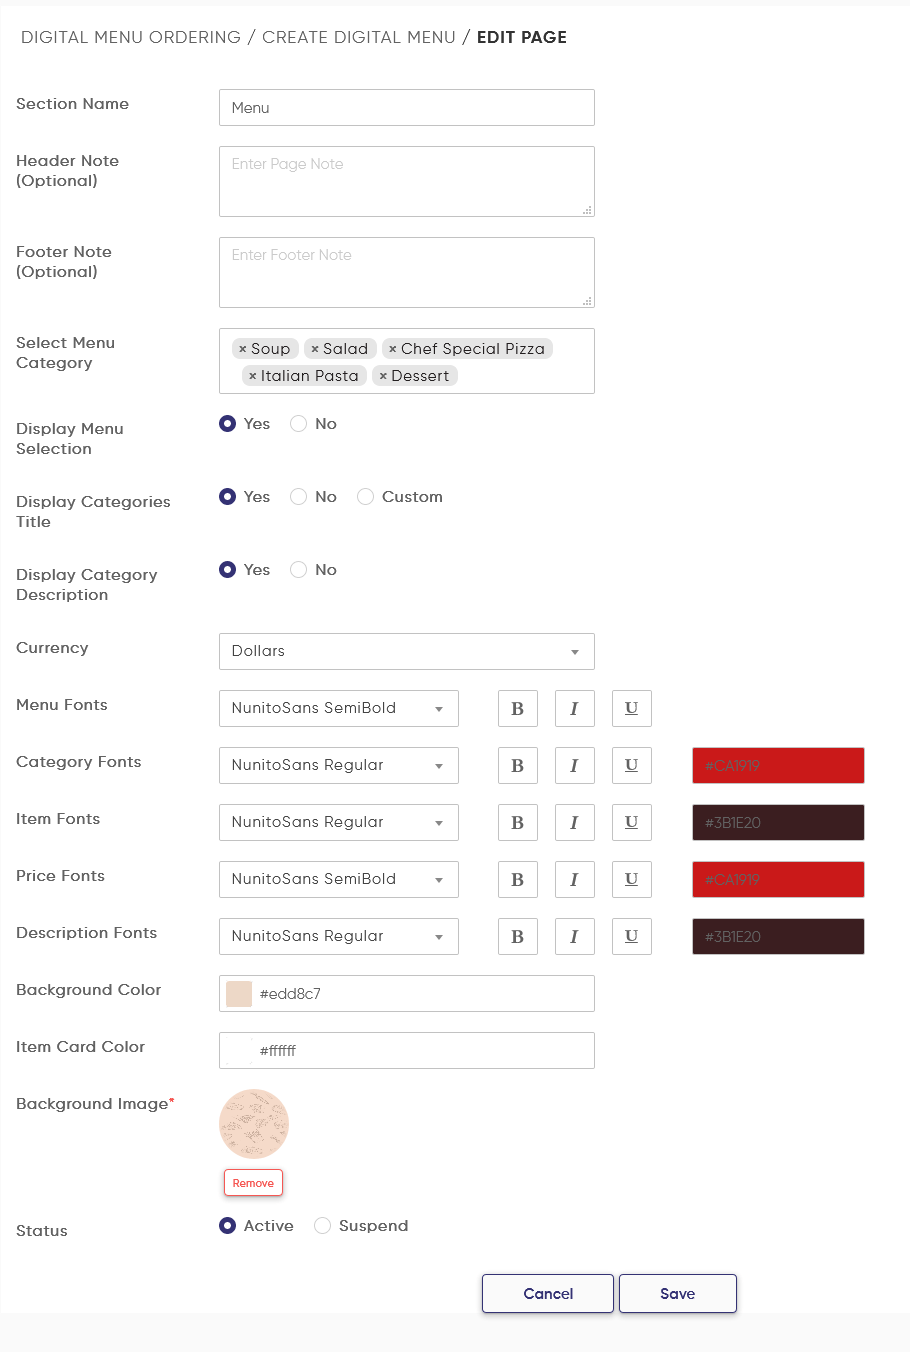
Once the Digital Menu is created, you can tap on the menu and you will be redirected to the next screen to input the below details:
1. Input the name of the menu as you need
2. Select the list of categories that you wish to display for that particular menu. We also offer the ability of selecting whether to show the category titles or description in the menu or not.
3. Select the currency in which you want the menu item prices to be displayed.
4. We also offer different types of font selection for Categories, Items, Prices and descriptions.
5. You can also select the Background color for the menu and the item card color that matches the background.
6. Upon filling up the needed details, tap on ‘Save’ again and your menu is created.
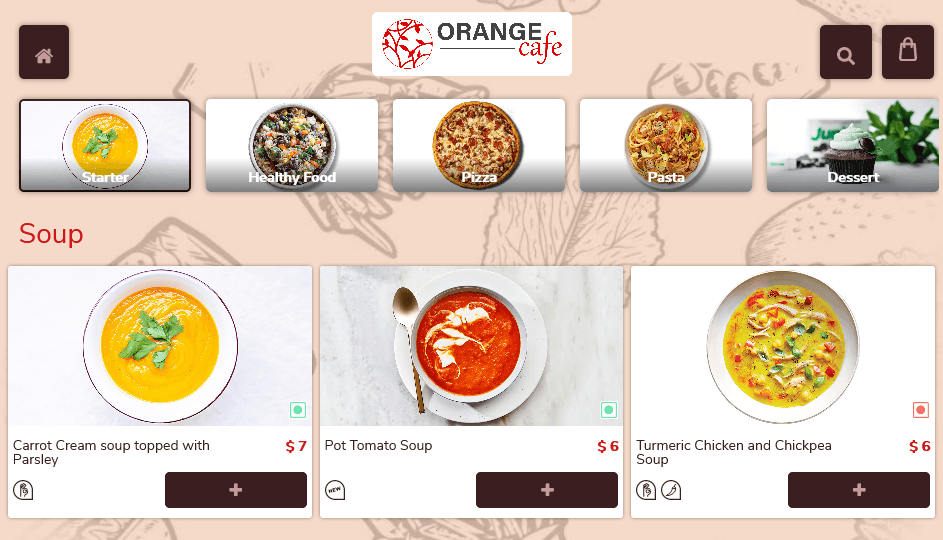
You can tap on ‘Preview’ to view the menu you just created and plan any other changes to it if you feel the need for it.
Steps to link the menu to your tablet
1. Download the app ‘DotSignage’ on your Android Tablet
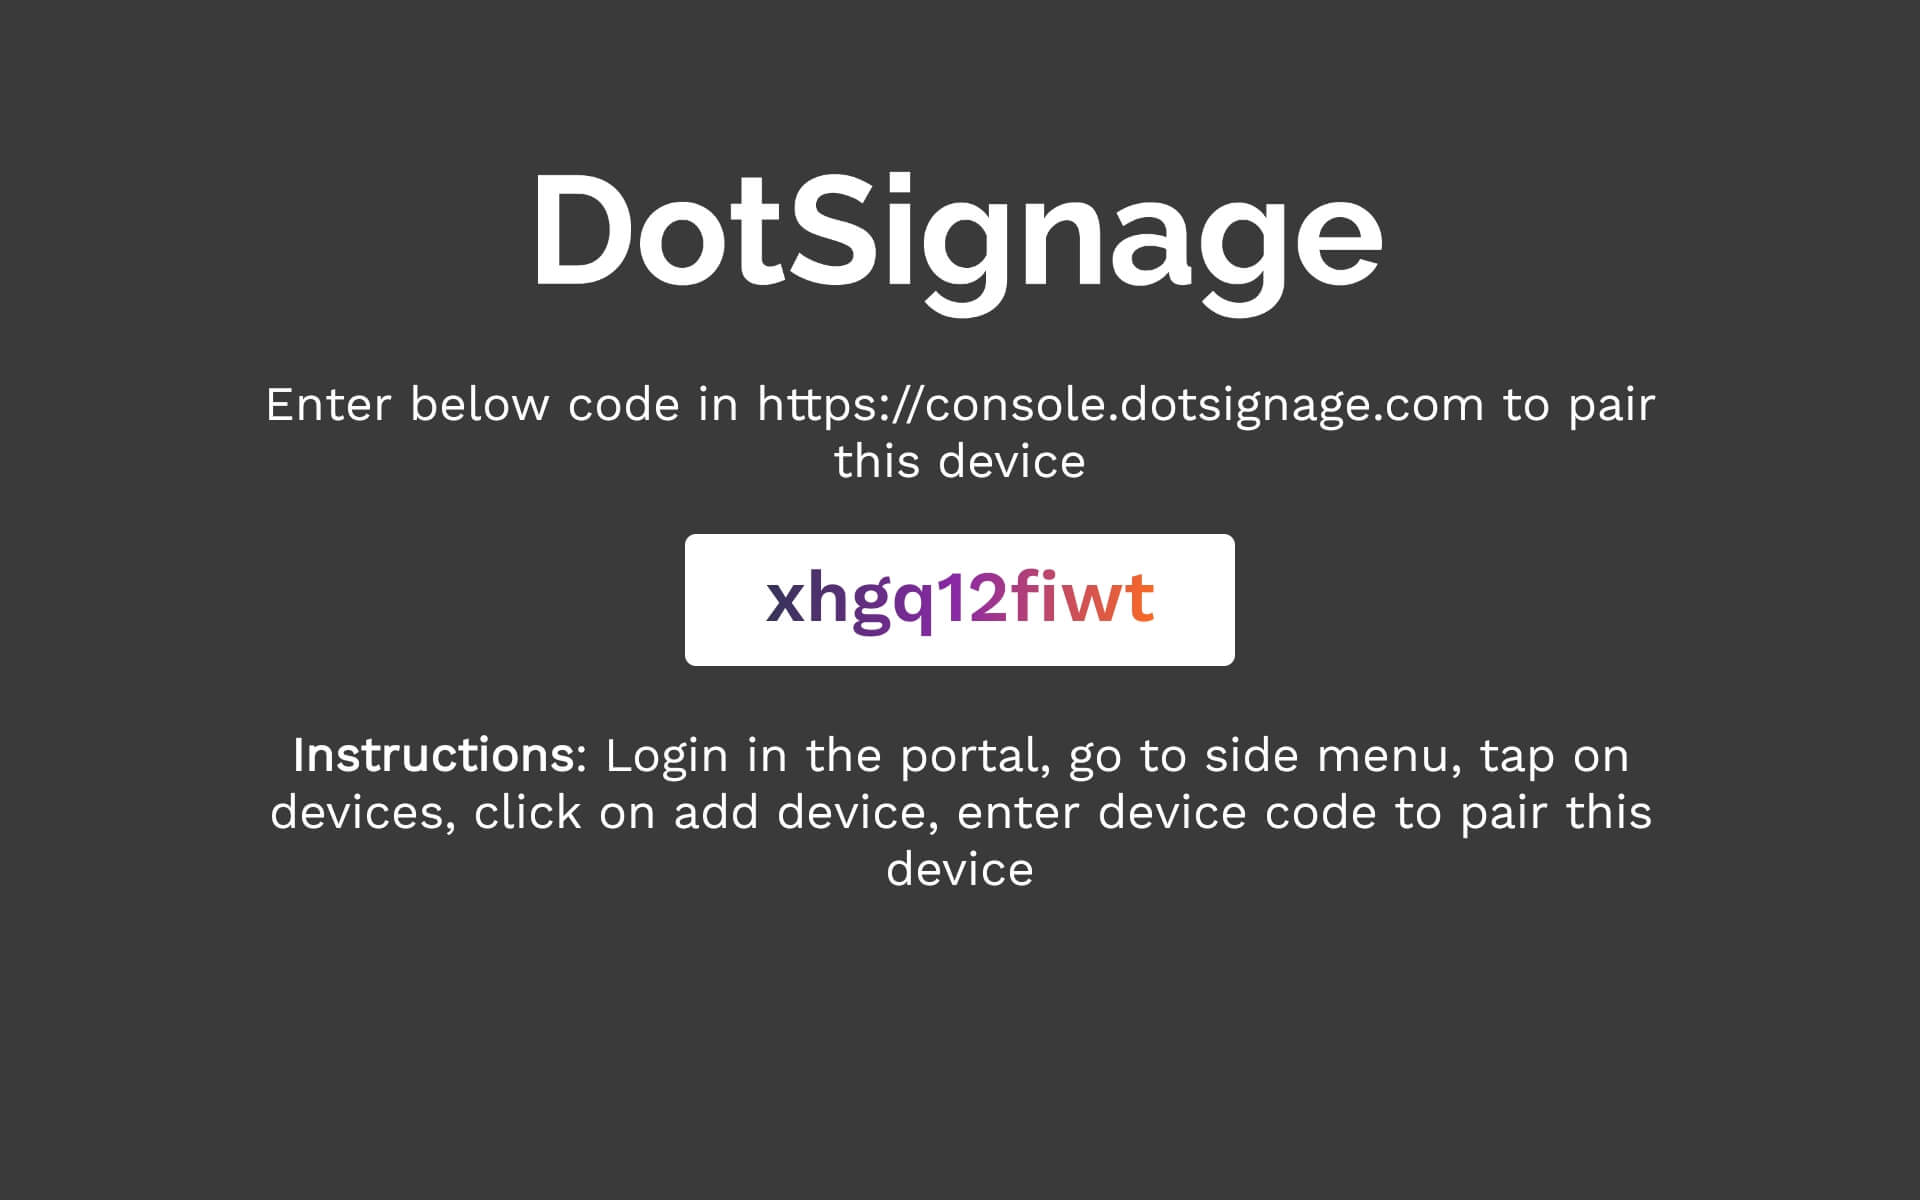
2. You will get a code after downloading the app on your tablet
3. Go to the Device section of the DotSignage console
4. Click on ‘Add Device’
5. Give it a name
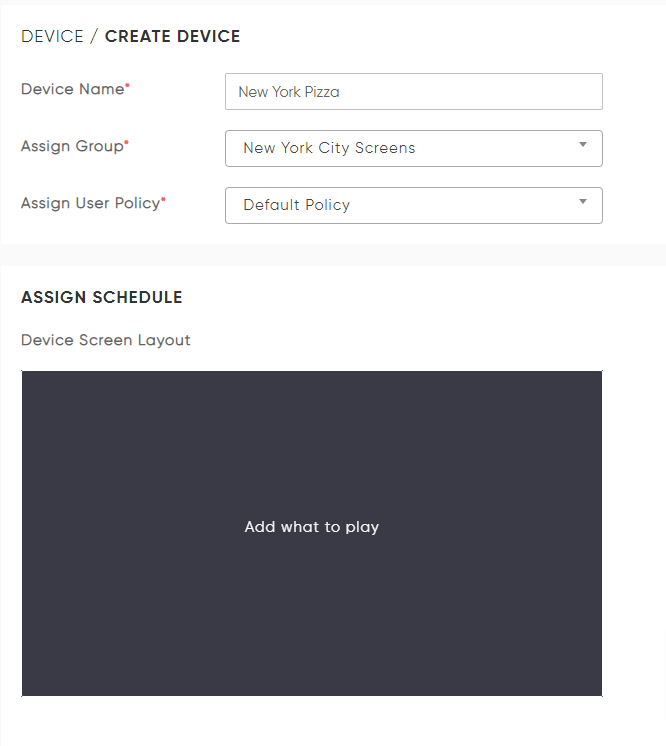
6. Click on ‘Add what to play’
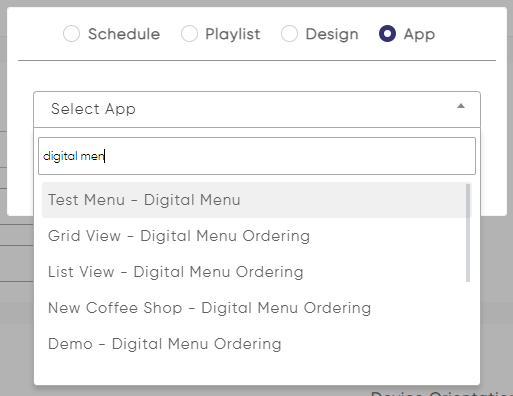
7. Assign the Tablet Ordering menu from the App Section
8. Click on ‘Save & Link with Device’
9. Enter the code
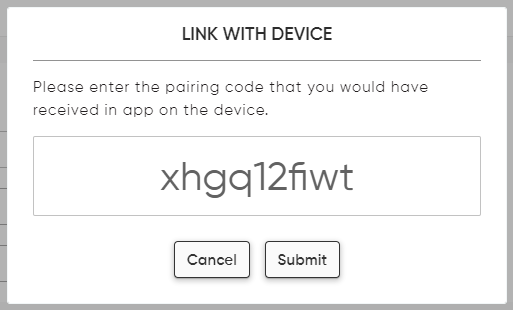
10. Click on Save
Make sure your device is connected to the internet for it to take your published menu on the tablet.
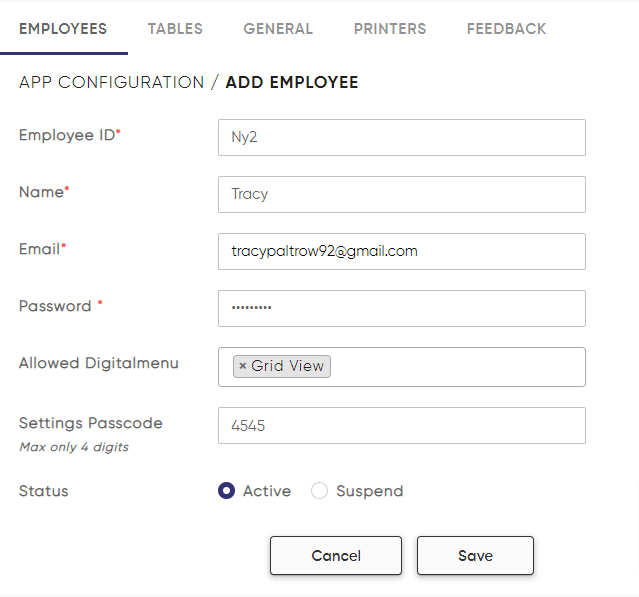
To create employees who can access the menu and check number of customer orders, go in the ‘App Configuration’ section in Digital menu app and click on ‘Add Employee’

Enter the email, password, the access to the menu you need to give to the employee and the passcode to access the menu.
To check the orders they have received, you can login to orderpanel with the employee login id.
A few steps, and your menu is created and configured to get started for service. Feel free to reach us out in case of any query and we would be prompt in our revert. Reach us out on info@dotsignage.com