With this section that we have newly created for Digital Menu boards templates, users can easily create a menu by themselves or edit ready-made that we have given in the system as per their need.
The main idea of creating this solution is to ensure that users need not rely on others and can create minor changes or modifications in their menus easily or create a new menu altogether.
How do I Make a Digital Menu Boards?
- Under our DotSignage App Store, click on Digital Menu Board Editor
- Give your menu board a name
- Select from 750+ in-built menu templates
- Start editing it on our template editor
- You can also create a template from scratch
- Once done, assign the menu board to the TV from the device section
1. Go to App store section in DotSignage Panel (Don’t have an account yet? Create one now and enjoy a 7-day free trial!)
2. Click on Digital Menu Board
3. Click on Create Digital Menu Board at right corner button.
4. Enter your menu name.
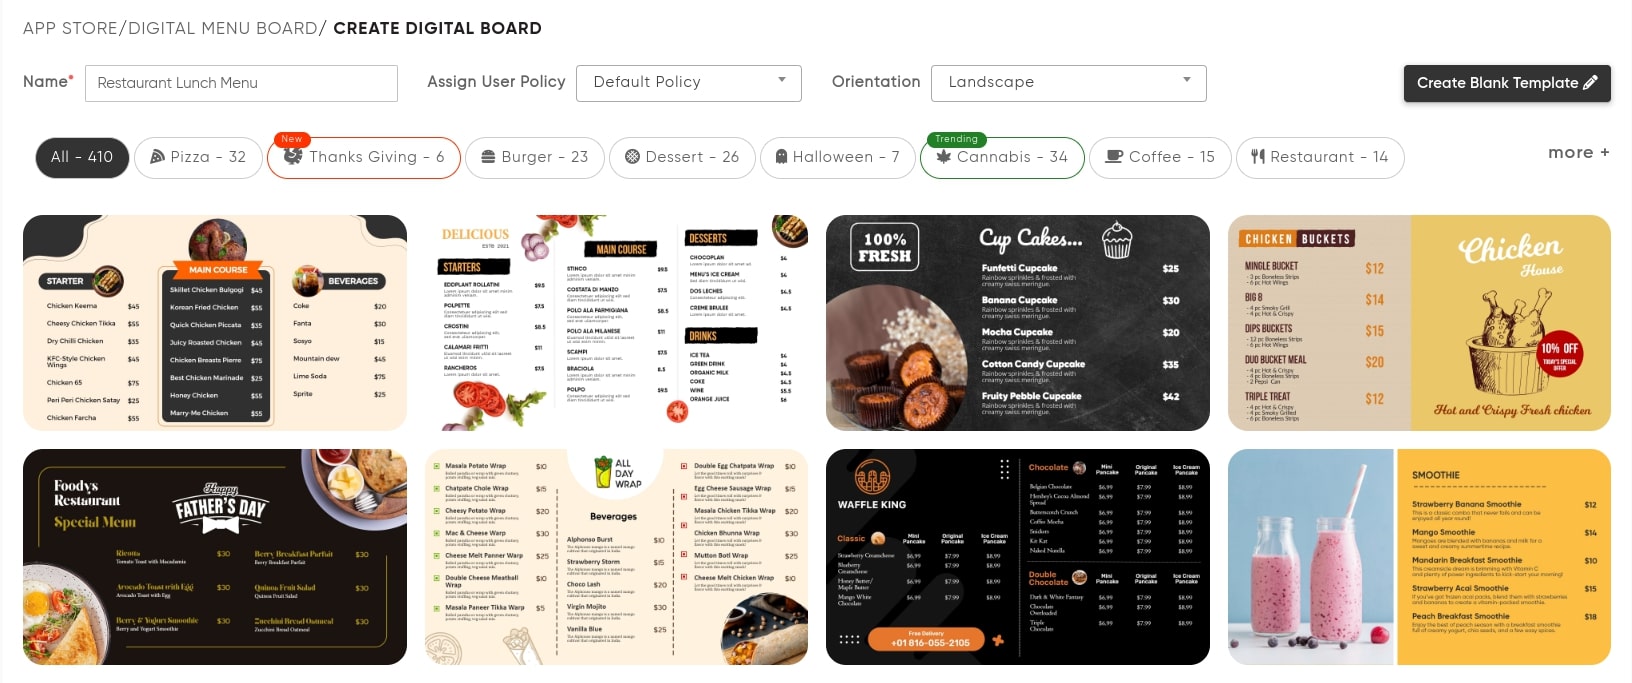
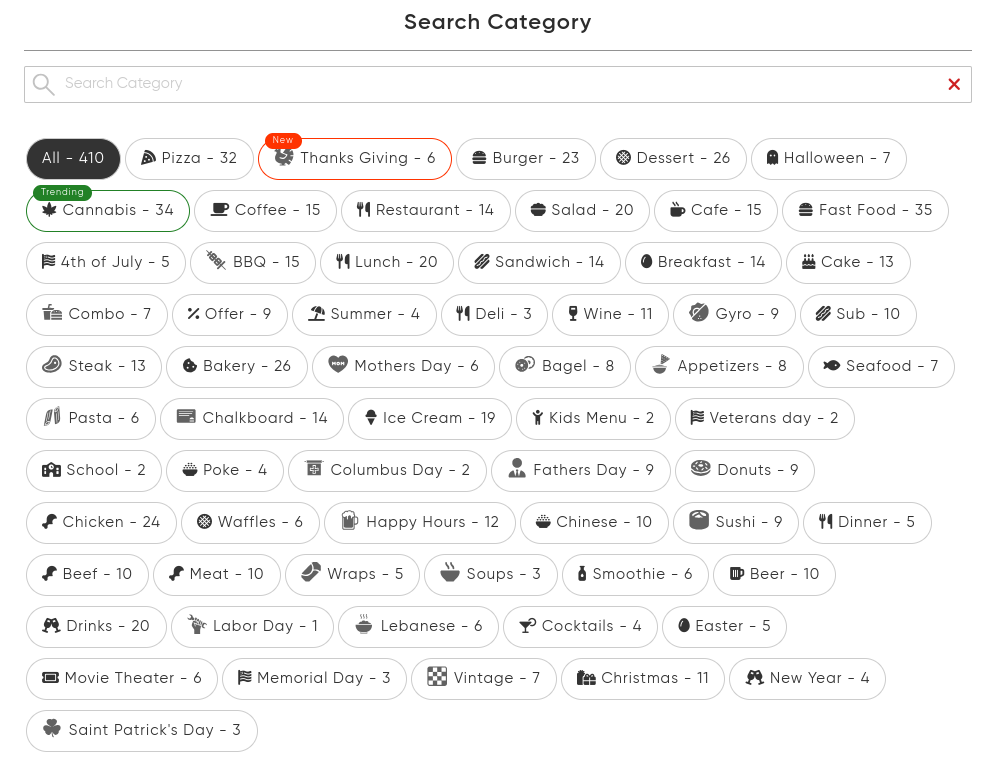
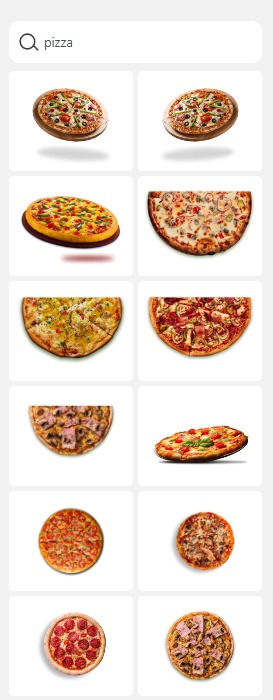
5. You can see the list of editable menu templates. Click on a particular menu to start customize. You can also short templates by restaurant categories like pizza, burger, offer, deli etc…
Detailed Guideline for Customize Menu Boards
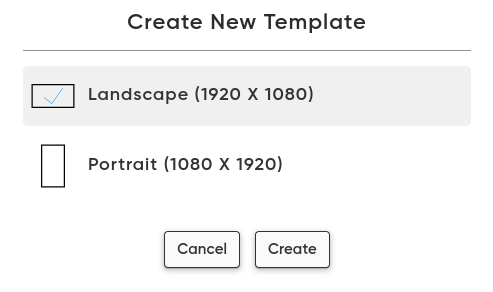
Select the screen orientation you are looking to have – Portrait or Landscape
Tap on the ‘Background’ to set a background color, template size and Background image.
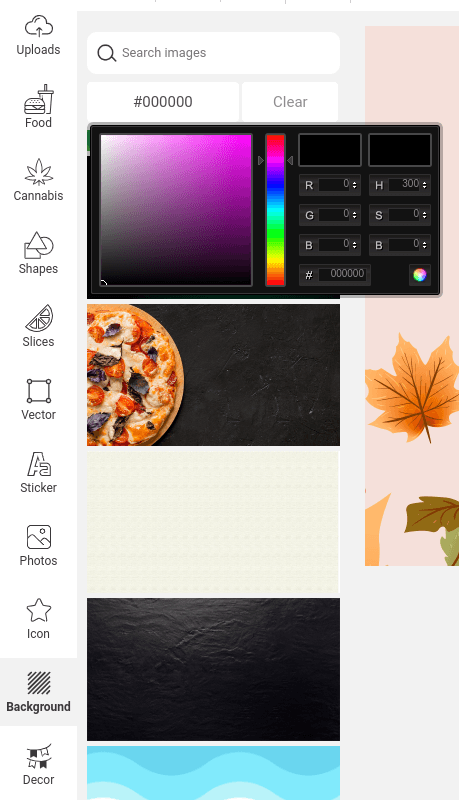
- You can either select any of the background image that you find right from the given options.
- Or tap on ‘Code’ to select the color of the background you are looking to have.
- Tap on ‘Clear’ to clear the current background and select a new one as you need.
It might so happen that you need to edit the background again after you have set all the content in case you feel the selected background is not the right one.
Tap on ‘Add Text’ to add text to your template
- Add anything be it a category heading, some big size decorative text, offer highlight, by tapping on ‘Add Text’.
- Double tap on ‘Some text here’ and you will get all the formatting options for the particular text inserted.
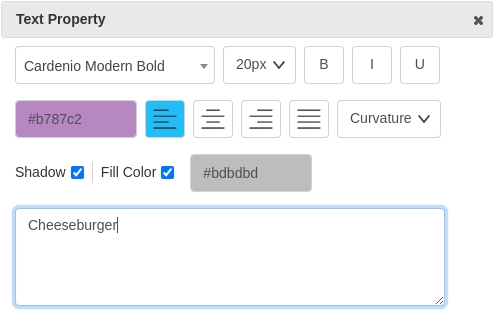
- You can input the text you need in the pop up from this section:
- Select the font type, size, the color and alignment as you need
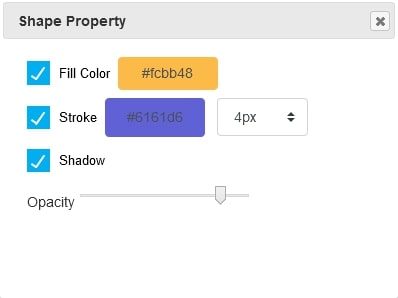
- Tap on ‘Fill Color’ to give a background color to the particular text
- Tap on curvature to give a more curved and finished effect to text background color
- Tap on ‘Shadow’ to give your font a shadow feel and enhanced look.
- You can also give a Bold, Underline or Italics effect to the text by selecting the respective item icon.
Tap on ‘Add Menu’ to start adding a menu from scratch
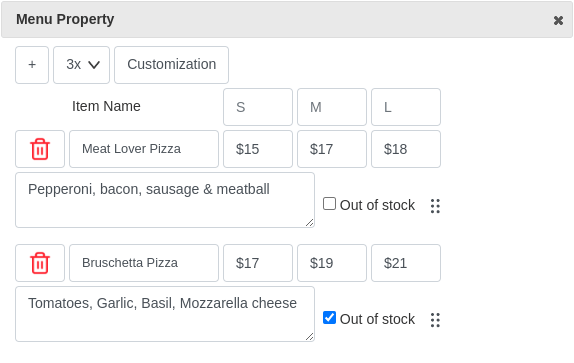
- Upon tapping on ‘Add Menu’ you will get a box with the text ‘Item Name’ written. Double tap on the box to start adding your menu from Menu Property pop-up.
- Tap on the + button in the pop-up to continue adding items to the menu.
- From the box next to +, select 1x, 2x…. to give you menu items sizes as need be. 1x will be only one size for that product. 2x will give you two sizes and so forth. You can set sizes like small, medium, large and extra large as needed.
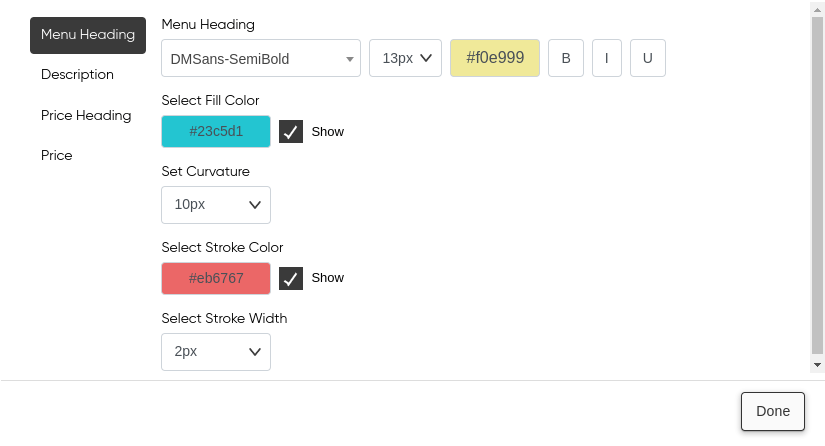
- Tap on ‘Customization’ to formatting – menu heading, Description, Price heading and Price.
- You can choose a font, size, color and formatting effects like text background color and its curvature and stroke effect.
- You can also decide spacing between price and menu item
- With curvature, you can give round corner effect to your text background fill
- With Stroke, you can give stroke line to the text background fill color. You can also decide width of your stroke border
Tap on ‘Add Shape’ to select different shape types
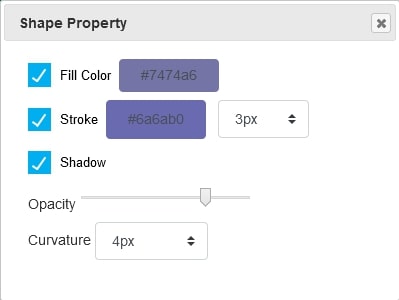
- Select the kind of shape that you are looking to have. Like Square, Round, line and polygon.
- You can give different effects like filling color in the shape, stroke border, shadow effect, opacity and curvature.
Stock Image Library
Herein we have offered you several prefilled images and shapes that can be used, formatted and aligned as need be.
- Images on items like food, food sides, random items much used in designs, vector shapes or standard icons.
- You can also upload your own images by clicking on Browse button.
- My Images has readily created digital signage templates that you can directly put to use.
- My images section shows your number of images upload by you in your account
- There is no limit on number of images you insert in digital signage templates
- All images you insert in templates, system generate separate layers for individual image
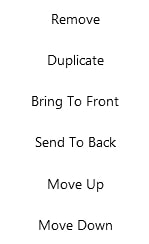
- You can set image layers priority by image right click
- ‘Bring to Front’ will bring the image to the top-most layer. Similarly ‘Send to Back’ will bring the image to the bottom most layer.
- ‘Move Up’ and ‘Move Down’ will work on the image layer by layer. Eg: If you have five. images layered one after another, Move up will bring the image to the top by one layer, tap on Move up again and it will bring the image up by another layer. Same goes for Move Down.
- Shapes, text and icons — they have formatting properties of filling color, applying stroke, giving opacity and shadow effect as well. They work in the same way as explained for the images in the earlier sections.
- After completion of template design or changes just save this template by click on save templates button.


- If you have different menus that should reflect based on the particular timezone of the day, you can create a scheduler.
- You will need to create a playlist if you want to create a scheduler.
- Go the Scheduler section in the left panel and tap on ‘Create Scheduler’.
- Add ‘Regular’ or ‘Event’ based scheduler as per your needs.
- Select the matching playlist for the scheduler and tap on ‘Save & Publish’.
A few easy and quick steps to get you started with the digital menu boards on your TV screens. Do let us know if you have any queries or concerns and feel free to reach us at info@dotsignage.com or try our 7 day free trial to explore more.