Keeping your digital screens fresh and relevant shouldn’t feel like a weekly chore.
Many businesses need to update their content on a regular schedule, weekly promotions, rotating menus, recurring announcements, or seasonal messages. Manually changing content each week can be time consuming and easy to forget.
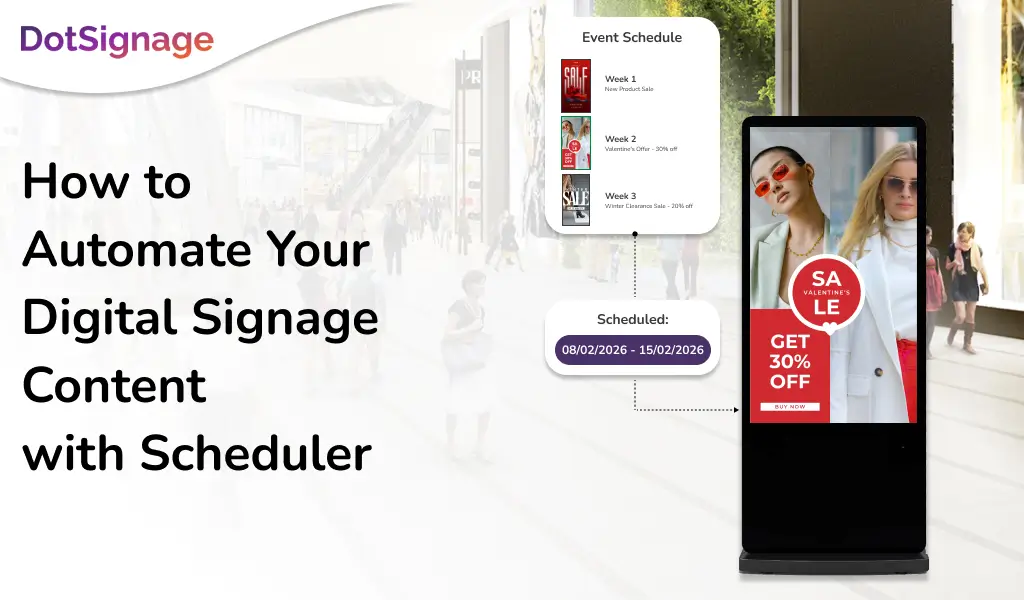
That’s exactly where the Event Based Scheduler of DotSignage comes in.
With this feature, you can set up your content once, define when it should change, and let the system automatically update your screens every week, without any manual work.
But before diving deep into what an Event Based Scheduler is, let’s first understand what a Scheduler means for digital signage software?
What is Scheduler?
A scheduler is a feature that allows you to automatically control when, where, and how long specific content appears on your screens.
When it comes to DotSignage, we want to make things as simple as possible for the customers.
Considering that, we have two types of Schedulers:
1. Regular Scheduler: A regular scheduler allows you to schedule content that will keep playing regularly on your TV screens based on the time slots and days of the week defined in the scheduler.
Set it once, assign it to your TV screens, and it will keep playing regularly.
Now consider a situation where you want to play a different content only for certain dates of the year like Thanksgiving, Christmas, New Years and more. This is where the Event Based Scheduler comes into picture.
2. Event Based Scheduler: The Event Based Scheduler is used in the scenario when you want to change the content based on the dates defined.
What is the difference between a Regular Scheduler and an Event Based Scheduler?
A regular scheduler lets you schedule content to play on a recurring basis, while an event-based scheduler allows you to display content for specific dates or defined date ranges.
Let’s walk through what Event Based Scheduler is, how it works, and how you can use it to fully automate your screen content.
What is an Event Based Scheduler?
The Event Based Scheduler is used when you want your content to automatically change based on specific dates or special events that you define in advance. Instead of manually updating screens each time, you can schedule content to appear for a particular day, date range, or occasion, and then revert back to regular content once the event is over.
Instead of assigning content to your TV every time you want something to change, you can:

1. Create your content

2. Create an event-based schedule
3. Assign that schedule to your TV
After that, your content will update automatically according to the rules you set.
Think of it as a set-it-and-forget-it automation tool for your screens.
Setting Up Your First Event Based Scheduler
Let’s walk through how to automate weekly content changes on your screens.
Step 1: Create Your Content
Start by preparing all the content you want to display. With DotSignage, there are two ways you can create your content:
a) Create your content: You can create your own content with our digital menu board editor or canvas editor. We already have 750+ templates that you can pick and start editing from your end.
You can refer to this video on how to use the template editor:
b) Upload your content: If you already have content ready at your end and are not planning to create anything, you can upload your own videos (mp4) as well as images (jpg or png).
You can do so from the Design section of our panel.
This could include:
- Promotional materials
- Announcements
- Menu boards
- Any other visual content for your digital signage
Make sure each piece of content is ready to go before you begin scheduling. You can create your content day-wise, time-wise or week-wise.
Creating a playlist is mandatory to use in the Schedule feature. You can add your created content to the app section as well as the uploaded content in the Design to the Playlist. It basically allows you to combine the content of the App Store and the Design section.
Refer this video on how to create a playlist:
Step 2: Set Up Your Event Based Schedule
This is where automation happens.
When creating your Event Based Scheduler, you’ll define when and how your content should change.

For weekly updates, you’ll specify which content plays during which week.

You can set parameters like:
- End date (select end date first)
- Start date
- Specific days of the week
- Time ranges for when specific content should be active

Step 3: Assign the Schedule to Your TV

Once your schedule is configured, assign it to the specific display or group of displays.
This is a one-time assignment.
This schedule will have the list of all the event-based schedulers that you have created per week in the Schedule section.
You’re not assigning content to the TV. You’re assigning the entire automated schedule.
The TV will then follow the schedule’s instructions on its own.
Step 4: Let It Run Automatically
Here’s where Event Based Scheduler truly shines.
After that initial setup, you’re done.
Every week, your content changes according to the schedule you created:
- Week one shows content A
- Week two shows content B
- Week three shows content C
- And so on
The system handles all of this in the background. No need to log in, check settings, or manually push updates.
The Power of Multiple Schedulers
DotSignage doesn’t limit you to just one Event Based Scheduler.
You can create as many schedulers as you need. This handles different automation requirements across your organization.
Examples of Multiple Schedulers
Example 1: Week-wise Event Schedule

Regular Content

20th – 31st Dec. Switch to Christmas Offer

1st – 10th Jan. Switch to New Year Offer
Regular Content
This example shows weekly schedules based on the events and they will keep playing and updating on the TV screens on their own.
Example 2: Special Day Event Schedule

Regular Schedule
(1st Feb to 13th Feb)

Valentine’s Day Specials
(14th Feb Only)
Regular Schedule
(15th Feb to 28th Feb)
Here we have taken the example of only 1 day being the event-based schedule. The schedule will change on its own for the 14th Feb and revert to the regular schedule.
Example 3: Monthly Event Schedule

January Month
February Month

March Month
This example applies for retail businesses whose offer changes every month. In that case, they can create event-based schedule for every month such that the offer will keep changing on its own every month.
Key Benefits of Event Based Scheduler
Automation
The biggest advantage of the Event Based Scheduler is that it automates content on your screens, eliminating the need for manual updates.
Time Saving
Set it up once and forget about it. No more weekly logins to manually update content.
Consistency
Your content changes happen exactly when they’re supposed to. Every time, without human errors or delays.
Scalability
Whether you have two screens or two hundred, the same scheduling approach works. Create the schedule once and assign it to as many displays as needed.
Flexibility
Need different content schedules for different locations or purposes? Create multiple schedulers to handle each scenario independently.
Reliability
Automated schedules eliminate the risk of forgetting to update content. No more mistakes during manual updates.
Real-World Applications
Retail Chains
Consider a retail chain that runs weekly promotions.
Instead of having someone update each store’s displays every Sunday night, they create one Event Based Scheduler. Load it with 52 weeks of promotional content.
Assign it to all store displays once. The entire years’ worth of promotions plays automatically.
Corporate Campuses
Imagine a corporate campus with multiple buildings. Each needs different weekly announcements.
Create separate schedulers for:
- HR announcements
- Cafeteria menus
- Event calendars
- Building-specific information
Each runs independently. All displays remain current without ongoing manual management.
Digital Menu Boards
This represents one of the most powerful applications of Event Based Scheduler.
Quick service restaurants, cafes, and food courts can automate their entire menu display strategy.
Dayparting Example:
- Breakfast menus from 6 AM to 11 AM
- Lunch menus from 11 AM to 4 PM
- Dinner menus from 4 PM to closing
All automatically, every single day. If the menus change every week, event-based schedulers can be used.
Event Based Menu Automation:
- Weekly chef specials
- Seasonal menu items that change monthly
- Limited-time offers that run for specific weeks
Pizza Chain Example:
A pizza chain could automate:
- “Pizza of the Month” promotions
- “BOGO Wednesday” specials
- Weekend family meal deals
All through different schedulers working in harmony.
The menu boards update themselves without any staff intervention. Customers always see the right items at the right time.
Getting Started
The best way to understand Event Based Scheduler is to start using it.
Begin with a simple weekly content rotation on a single display. Once you see how smoothly it operates, you'll quickly identify other areas where automation can help.
Look for opportunities to save time and improve your digital signage management.
You're not just scheduling individual pieces of content.
You're creating an automated content management system. One that works for you around the clock.
The initial setup investment pays dividends in time saved and consistency achieved.
Event Based Scheduler transforms digital signage from a manual, time-consuming task into a set-it-and-forget-it system.
Your displays stay fresh, current, and engaging without constant attention.
That's the power of automation done right.
Email info@dotsignage.com with any questions or start your 7-day free trial and take control of your screen content with DotSignage.
Get the Best of Digital Menu Boards at Just $10!
No Credit Card Required

About Smit
Smit Nebhwani, a tech entrepreneur with over a decade of experience, specializes in building successful SaaS products. An authority in digital signage, he shares valuable industry insights through his content. In his free time, he enjoys music, traveling, and family time.
Share this post: